Introduction to DIY Needle Case Tutorial
Embarking on a DIY project can be an exciting adventure, especially when it’s something as practical and personal as a needle case. This tutorial will guide you through the process of creating your very own needle case, tailored to your specific needs and preferences. Let’s dive into the world of DIY and discover the joy of creating something with your own hands.
- Understanding the need for personalized needle storage
- Benefits of homemade needle cases
Every craft enthusiast knows the importance of organization. When it comes to sewing, needles are one of the most essential tools. However, they are also small and easy to lose. A personalized needle case not only keeps your needles safe and organized, but it also reflects your unique style. It’s a practical solution that adds a touch of personal flair to your crafting tools.
Creating your own needle case has several benefits. First, it allows you to design a storage solution that fits your specific needs. Whether you have a variety of different needle types or a large quantity of one kind, you can create a case that accommodates them all. Second, a homemade needle case is cost-effective. You can use materials you already have at home, saving money on expensive store-bought alternatives. Lastly, the process of creating your needle case can be a fun and rewarding experience. It’s a chance to express your creativity and enjoy the satisfaction of making something useful with your own hands.
The Basics of Crafting Storage Solutions
When it comes to sewing, organization is key. Having a place for everything and everything in its place can make your sewing projects go much smoother. Let’s explore the basics of crafting storage solutions, focusing on essential DIY sewing storage items.
Essential DIY Sewing Storage Items
There are several items that are essential for organizing your sewing materials. These items not only help you keep your workspace tidy, but they also make it easier to find what you need when you need it. Here are three must-have items:
- Needle Cases
- Thread Organizers
- Scissor Holders
Needle cases are a must-have for any sewing enthusiast. They keep your needles safe and secure, preventing them from getting lost or damaged. Plus, they make it easy to find the right needle when you need it. You can make your own needle case using materials like felt or fabric, and personalize it to suit your style.
Thread organizers are another essential item for sewing storage. They allow you to keep your threads neatly arranged by color or type, making it easy to find the right thread for your project. You can create your own thread organizer using a variety of materials, such as wood or plastic, and customize it to fit your needs.
Scissor holders are a great way to keep your scissors safe and easily accessible. They can be made from a variety of materials, including fabric, leather, or even a simple mason jar. Having a dedicated place for your scissors not only keeps them safe, but also ensures that you always know where they are when you need them.
These are just a few examples of the essential DIY sewing storage items you can create. Remember, the goal is to make your sewing experience as enjoyable and efficient as possible. So, don’t be afraid to get creative and customize these items to suit your personal style and needs.
Personalized Sewing Accessories
Adding a personal touch to your sewing accessories not only makes them unique but also adds a sense of ownership and pride to your craft. Let’s explore how you can customize your needle case and create unique thread organizers.
-
Customizing Your Needle Case
Needle cases are essential for any sewing enthusiast. They keep your needles safe, organized, and easy to find. But who said they have to be plain and boring? Let’s add some personality to your needle case!
Start by choosing a fabric that reflects your style. It could be a pattern, a color, or even a fabric with your favorite character. Cut the fabric to the size of your needle case, then use fabric glue or a sewing machine to attach it. You can also add embellishments like buttons, beads, or embroidery to make it truly one-of-a-kind.
Remember, the goal is to create a needle case that you love and that represents you. So, don’t be afraid to get creative and experiment with different designs and materials.
-
Creating Unique Thread Organizers
Thread organizers are another must-have for sewing. They keep your threads untangled and easy to access. But just like needle cases, they can also be personalized to reflect your style.
One way to create a unique thread organizer is by using a wooden board. Paint the board in your favorite color, then add nails or hooks to hang your threads. You can also add labels to each hook to make it easier to find the thread you need.
Another idea is to use a picture frame. Remove the back of the frame and replace it with a piece of cork or foam board. Then, use pins to hang your threads. This way, you can display your threads like a piece of art!
These are just a few ideas, but the possibilities are endless. The most important thing is to have fun and create a thread organizer that you love and that makes your sewing experience more enjoyable.
In conclusion, personalizing your sewing accessories is a fun and creative way to add a touch of personality to your craft. So, why not give it a try? You might be surprised by how much you enjoy it and how much it enhances your sewing experience.
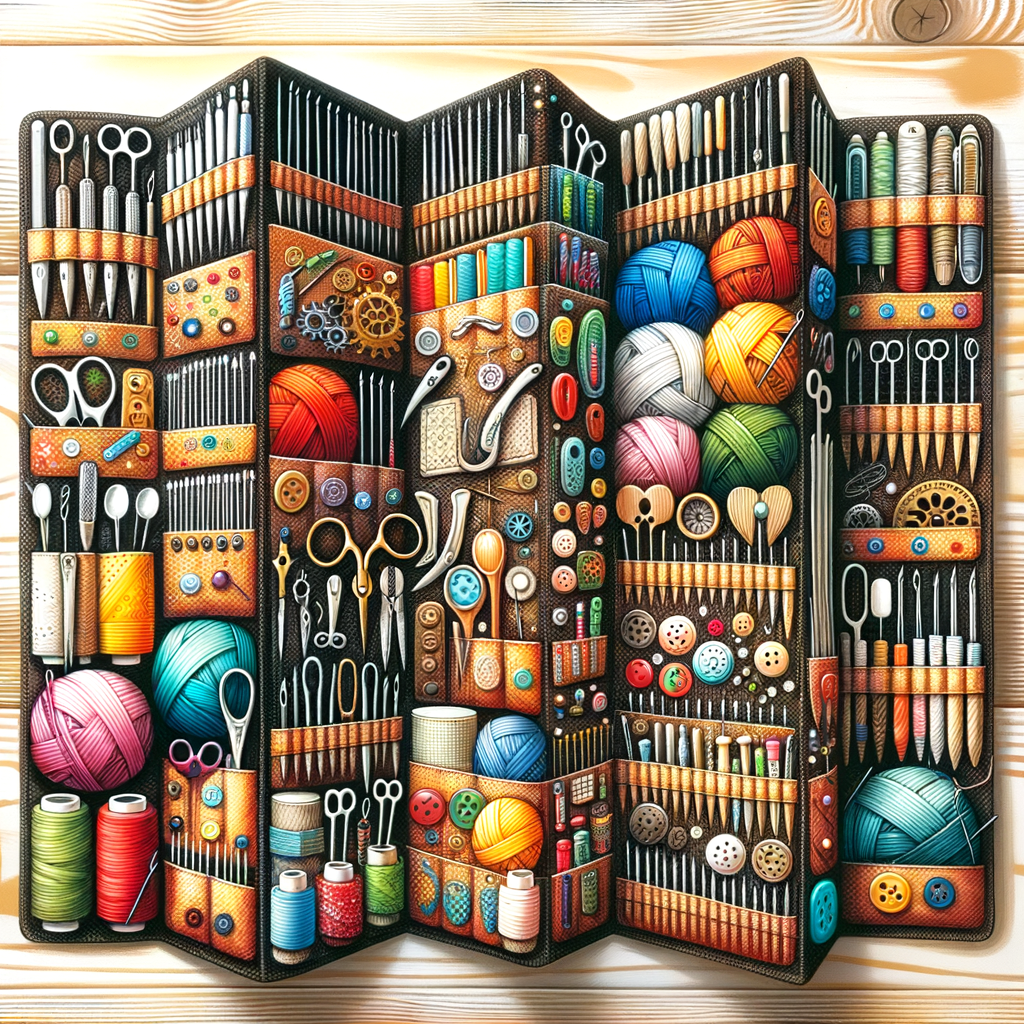
Step-by-Step Guide to Handmade Needle Cases
Creating your own needle case can be a fun and rewarding project. Not only will you have a unique storage solution for your sewing needs, but you’ll also gain the satisfaction of making something with your own two hands. Here is a simple, step-by-step guide to help you create your very own handmade needle case.
- Gathering your materials
- Preparing your design
- Assembling your needle case
Before you start, you’ll need to gather all your materials. This includes fabric for the outside and inside of the case, a smaller piece of felt for the needle pages, thread, a sewing needle, and a button or snap for closure. You may also want to include a small pair of scissors, a ruler, and a fabric marker for measuring and marking your fabric.
Once you have all your materials, it’s time to prepare your design. First, decide on the size of your needle case. A standard size is about 4 inches by 4 inches, but you can adjust this to suit your needs. Next, draw your design onto the fabric using your fabric marker. Remember to leave a seam allowance around the edges.
Now comes the fun part – assembling your needle case. Start by sewing the felt pages to the inside fabric. Then, sew the outside and inside fabrics together, right sides facing, leaving a small gap for turning. Turn the case right side out, press, and then sew the opening closed. Finally, sew on your button or snap for closure. Congratulations, you’ve just made your own handmade needle case!
Creating a handmade needle case is not only a practical project, but it’s also a great way to express your creativity. With a little time and effort, you can create a unique storage solution that’s perfectly tailored to your sewing needs. Happy crafting!
| Materials Needed | Quantity |
|---|---|
| Fabric | 2 pieces |
| Felt | 1 piece |
| Thread | 1 spool |
| Sewing needle | 1 |
| Button or snap | 1 |
DIY Craft Storage Ideas
As we continue our journey into the world of DIY, let’s explore some exciting craft storage ideas. These ideas will not only help you keep your crafting materials organized but also enhance your crafting experience. Let’s expand beyond the needle case and look at some other storage solutions.
Expanding Beyond the Needle Case
While a needle case is an essential part of any craft storage system, there are many other ways to store and organize your crafting materials. Here are a few DIY craft storage ideas that you can easily implement at home:
- Creating a Sewing Box: A sewing box is a perfect place to store all your sewing essentials. You can use a simple wooden box and customize it with compartments to fit your needs. For example, you can create separate compartments for threads, needles, and other sewing tools. This will not only keep your items organized but also make them easily accessible.
- Designing a Thread Rack: If you have a large collection of threads, a thread rack can be a great storage solution. You can design a simple rack using a piece of wood and some nails. Arrange the nails in rows and use them to hang your threads. This will not only keep your threads organized but also display them in a visually appealing way.
- Building a Fabric Organizer: If you’re into sewing or quilting, you probably have a lot of fabric pieces lying around. A fabric organizer can help you keep them organized and easy to find. You can build a simple organizer using cardboard boxes or plastic bins. Create separate compartments for different types of fabric, and label them for easy identification.
These are just a few examples of how you can expand your craft storage beyond the needle case. Remember, the key to effective craft storage is organization and accessibility. So, choose the storage solutions that work best for you and your crafting needs.
Custom Needle Case Designs
As we delve deeper into the world of DIY needle cases, it’s time to explore the realm of custom designs. Custom needle cases not only serve a practical purpose but also reflect your personal style and creativity. They can be as simple or as elaborate as you like, and the possibilities are endless. Let’s explore some inspiration for your own designs.
Inspiration for Your Own Designs
When it comes to creating your own custom needle case, the sky’s the limit. Here are a few ideas to get your creative juices flowing:
- Themed Needle Cases: Themed needle cases are a fun way to express your personality and interests. You could create a needle case themed around your favorite color, hobby, or even a beloved book or movie. For instance, if you’re a fan of the ocean, you could use shades of blue and green and embellish your case with seashells or sea creature motifs.
- Monogrammed Needle Cases: Monogrammed needle cases add a touch of elegance and personalization. You can monogram your needle case with your initials, name, or a special word that holds meaning for you. This not only makes your needle case unique but also makes it easy to identify if you’re in a group sewing setting.
- Patterned Needle Cases: Patterned needle cases are visually appealing and can be as simple or complex as you like. You could use a patterned fabric, or create your own pattern with embroidery or appliqué. Patterns can range from geometric designs to floral motifs, stripes, polka dots, and more.
Remember, the key to a successful custom needle case is to make it uniquely yours. Don’t be afraid to experiment with different designs, materials, and techniques. The most important thing is that you create a needle case that you love and that serves its purpose well.
Sewing Organization Tips
Keeping your sewing space organized is crucial for a smooth and efficient crafting experience. Whether you’re a seasoned seamstress or a beginner, these tips will help you maintain a tidy and functional sewing area.
Maintaining Your DIY Sewing Storage
Proper maintenance of your DIY sewing storage is essential to prolong its life and keep your sewing materials in good condition. Here are some key steps to consider:
- Regularly cleaning your needle case
- Keeping your sewing area tidy
Needles are an integral part of sewing. They can easily get lost or damaged if not stored properly. A needle case is a perfect solution for this. However, it’s not enough to just have a needle case; you need to clean it regularly. Dust and dirt can accumulate over time, which can dull your needles. Use a soft cloth to wipe the case and keep your needles shiny and sharp.
A cluttered sewing area can hinder your productivity and creativity. Make it a habit to clean your space before and after each project. Organize your materials in designated storage boxes or drawers. Label them for easy access. A clean and organized sewing area not only makes your crafting experience more enjoyable but also helps you save time and effort in finding the tools you need.
Remember, a well-organized sewing area is a productive one. By regularly cleaning your needle case and keeping your sewing area tidy, you can ensure a smooth and efficient crafting process. Happy sewing!
Conclusion: The Joy of DIY
As we wrap up this exciting journey into the world of DIY, it’s important to take a moment to reflect on what we’ve learned and the satisfaction that comes with creating personalized sewing accessories. Let’s recap the highlights of our DIY needle case tutorial and the joy that comes with DIY.
- Recap of the DIY needle case tutorial
- The satisfaction of personalized sewing accessories
We started our DIY needle case tutorial with an introduction to the basics of crafting storage solutions. We then dove into a step-by-step guide to handmade needle cases, where we learned about the materials needed, the process of crafting, and the importance of precision and patience. We explored different craft storage ideas and custom needle case designs, and shared valuable sewing organization tips.
One of the most rewarding aspects of DIY is the ability to create something that is uniquely yours. Personalized sewing accessories not only serve a practical purpose but also reflect your personal style and creativity. The satisfaction derived from using a needle case that you’ve crafted with your own hands is immeasurable. It’s a testament to your skills, creativity, and dedication to the craft.
In conclusion, DIY is more than just a hobby. It’s a journey of self-discovery, creativity, and personal satisfaction. As we’ve seen in our DIY needle case tutorial, it’s about learning new skills, expressing your creativity, and experiencing the joy of creating something with your own hands. So, keep crafting, keep exploring, and most importantly, keep enjoying the joy of DIY!


