
Introduction to Knitting a Tote Bag
- Understanding the Basics of Knitting
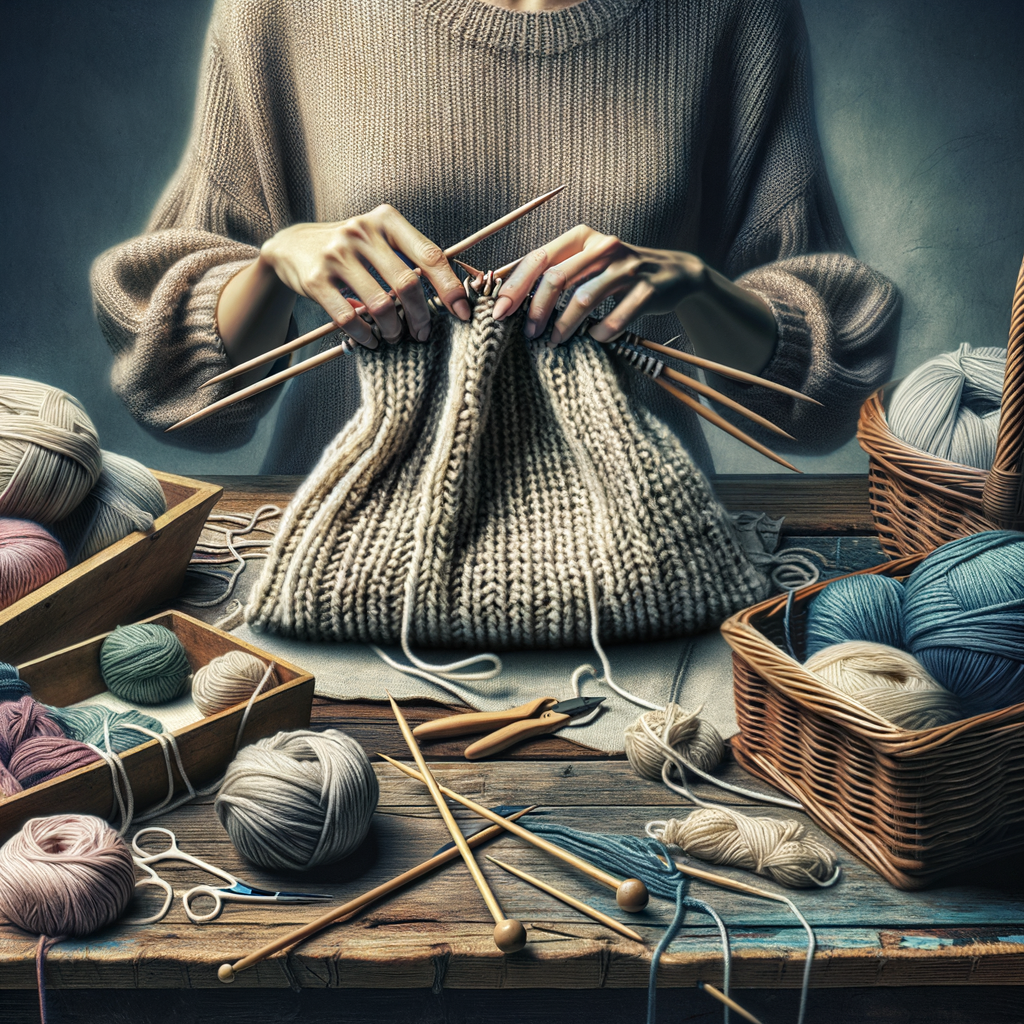
Knitting is a fun and relaxing hobby. It involves creating fabric by interlocking loops of yarn with needles. If you are new to knitting, start with simple stitches like the knit stitch and the purl stitch. These are the building blocks of many knitting projects.
- Why Knit a Tote Bag?
Knit tote bags are practical and stylish. They are perfect for carrying books, groceries, or beach essentials. Plus, knitting a tote bag allows you to customize the size, color, and design to fit your personal style.
- Benefits of a Handmade Knit Tote Bag
Creating a handmade tote bag has many benefits:
- Unique Design: Your tote bag will be one-of-a-kind.
- Personal Satisfaction: Making something with your own hands is rewarding.
- Eco-Friendly: Handmade bags reduce the need for plastic bags.
- Durability: Knit tote bags are often stronger and last longer than store-bought ones.
In the next sections, we will guide you through the materials needed, understanding patterns, and a step-by-step tutorial to create your very own knit tote bag.
Materials Needed for a DIY Knit Tote Bag
-
Choosing the right yarn:
Yarn is the most important material for your tote bag. Choose a yarn that is strong and durable. Cotton yarn is a great choice because it is sturdy and easy to work with. You can also use wool or acrylic yarn. Make sure to pick a color you love!
-
Knitting needles: types and sizes:
Knitting needles come in different types and sizes. For a tote bag, medium-sized needles (like size 8 or 9) are often best. You can use straight needles or circular needles. Circular needles can be easier to handle for larger projects.
-
Additional tools:
Besides yarn and needles, you will need a few more tools:
- Scissors: To cut the yarn.
- Tape measure: To check the size of your bag.
- Stitch markers: To keep track of your stitches.
- Yarn needle: To weave in the ends of the yarn.
Understanding Knitting Patterns for Tote Bags
Reading a Knitting Pattern
Knitting patterns might look confusing at first, but they are like a secret code. Once you learn how to read them, you can knit anything!
- Deciphering common knitting abbreviations: Knitting patterns use short forms to save space. Here are some common ones:
- Understanding pattern instructions: Patterns give you step-by-step directions. They tell you how many stitches to cast on, which stitches to use, and how many rows to knit.
| Abbreviation | Meaning |
|---|---|
| k | Knit |
| p | Purl |
| st | Stitch |
| yo | Yarn Over |
| k2tog | Knit Two Together |
These abbreviations help you read the pattern quickly. For example, “k2, p2” means you knit two stitches and then purl two stitches.
For example, a pattern might say:
Cast on 40 stitches. Row 1: k2, p2 across. Row 2: p2, k2 across. Repeat these two rows until the piece measures 10 inches.
This means you start with 40 stitches. In Row 1, you knit two stitches and then purl two stitches until the end of the row. In Row 2, you purl two stitches and then knit two stitches. You keep doing this until your piece is 10 inches long.
Choosing an Easy Knit Tote Bag Pattern
-
Factors to consider when choosing a pattern:
When picking a knit tote bag pattern, think about these factors:
- Skill Level: Choose a pattern that matches your knitting skills. Beginners should look for simple patterns.
- Materials: Check if the pattern uses yarn and needles you already have or can easily get.
- Size: Consider the size of the tote bag. Do you want a small, medium, or large bag?
- Style: Look for a pattern that matches your style. Do you prefer a plain or a more decorative tote?
-
Recommended patterns for beginners:
Here are some easy patterns perfect for new knitters:
- Simple Garter Stitch Tote: This pattern uses only the basic garter stitch, making it perfect for beginners.
- Basic Stockinette Tote: A straightforward pattern that uses the knit and purl stitches.
- Easy Lace Tote: For those who want to try something a bit more decorative, but still simple.
| Pattern | Skill Level | Materials Needed |
|---|---|---|
| Simple Garter Stitch Tote | Beginner | Yarn, Needles, Scissors |
| Basic Stockinette Tote | Beginner | Yarn, Needles, Scissors |
| Easy Lace Tote | Beginner | Yarn, Needles, Scissors |
Step-by-Step Knit Tote Bag Tutorial
-
Starting your project: casting on
To begin your knit tote bag, you need to cast on stitches. This is the first step in any knitting project. Use a simple cast-on method like the long-tail cast-on. For a medium-sized tote bag, cast on about 40 stitches.
Tip: Make sure your stitches are not too tight or too loose. This will help keep your knitting even.
-
Knitting the main body of the tote bag
Once you have cast on your stitches, start knitting the main body of the tote bag. Use the garter stitch, which is simply knitting every row. This stitch is great for beginners because it is easy and creates a sturdy fabric.
Continue knitting until your piece measures about 15 inches long. This will form the main part of your tote bag.
Example: If you knit 5 rows per inch, you will need to knit 75 rows to reach 15 inches.
-
Finishing touches: handles and edging
Next, you will add the handles and edging to your tote bag. For the handles, you can knit two long strips and attach them to the top of the bag. Each handle should be about 20 inches long.
For the edging, you can use a simple crochet stitch to give your bag a finished look. This will also help the bag keep its shape.
Tip: Make sure the handles are securely attached to the bag to carry weight without stretching.
-
Finishing your project: casting off and weaving in ends
Once you have finished knitting the main body and adding the handles, it’s time to cast off. This will secure your stitches and finish the edge of your bag. Use a simple cast-off method, like the basic bind-off.
After casting off, weave in any loose ends using a yarn needle. This will make your bag look neat and professional.
Final Step: Check your bag for any loose stitches or ends and secure them. Your knit tote bag is now ready to use!
Common Mistakes in Knitting a Tote Bag for Beginners
- Mistake 1: Incorrect tension
One common mistake beginners make is not maintaining the correct tension. Tension refers to how tightly or loosely you knit. If your tension is too tight, your tote bag may turn out smaller and stiffer than expected. On the other hand, if it’s too loose, the bag may be too floppy and not hold its shape well. It’s important to practice and find a comfortable tension that works for you.
- Mistake 2: Misreading the pattern
Another frequent error is misreading the knitting pattern. Patterns can sometimes be tricky, with different abbreviations and symbols. Always take your time to read through the entire pattern before starting. Make sure you understand each step. If you’re unsure, look up tutorials or ask for help from more experienced knitters.
- Mistake 3: Not checking gauge
Not checking your gauge is a mistake that can lead to a tote bag that is either too big or too small. Gauge is the number of stitches and rows per inch. To check your gauge, knit a small sample piece first. Measure it to see if it matches the pattern’s gauge. Adjust your needle size if needed to get the correct gauge.
Advanced Techniques for a Stylish Knit Tote Bag
Adding Texture with Stitch Patterns
Adding texture to your knit tote bag can make it look unique and stylish. Here are two advanced techniques to try: cable knitting and bobble stitch.
-
Introduction to Cable Knitting
Cable knitting creates a twisted, rope-like pattern on your tote bag. It looks complex but is easy to learn. You will need a cable needle for this technique.
Here are the basic steps:
- Knit a few rows to create a base.
- Transfer some stitches to the cable needle.
- Hold the cable needle in front or back of your work.
- Knit the next stitches from your main needle.
- Knit the stitches from the cable needle.
Repeat these steps to create a beautiful cable pattern.
-
How to Knit a Bobble Stitch
The bobble stitch adds small, raised bumps to your tote bag. These bumps give a fun and textured look.
Follow these steps to knit a bobble stitch:
- Knit into the front, back, and front of the same stitch. You will have three stitches from one.
- Turn your work and purl these three stitches.
- Turn your work again and knit these three stitches.
- Turn your work and purl these three stitches again.
- Turn your work one last time and knit these three stitches together.
Now you have a bobble! Repeat these steps to add more bobbles to your tote bag.
| Technique | Tools Needed | Difficulty Level |
|---|---|---|
| Cable Knitting | Cable Needle | Intermediate |
| Bobble Stitch | None | Intermediate |
Adding Color with Stripes and Fair Isle Knitting
-
How to Knit Stripes
Stripes can make your tote bag look fun and colorful. To knit stripes, you need to change yarn colors at the end of a row.
Here are the steps to knit stripes:
- Knit the first row with your main color.
- At the end of the row, cut the yarn, leaving a small tail.
- Join the new color by tying a knot or simply starting to knit with it.
- Continue knitting with the new color for the desired number of rows.
- Repeat the process to add more stripes.
Remember to weave in the yarn tails at the end to keep your work neat.
-
Introduction to Fair Isle Knitting
Fair Isle knitting is a way to add colorful patterns to your tote bag. It uses two or more colors in one row.
Here are some key points about Fair Isle knitting:
- Use a chart to follow the pattern.
- Carry the unused yarn behind your work.
- Keep the yarns untangled by twisting them every few stitches.
Fair Isle knitting can make your tote bag look very stylish and unique.
| Technique | Difficulty Level | Best For |
|---|---|---|
| Stripes | Easy | Beginners |
| Fair Isle | Intermediate | Experienced Knitters |
Conclusion: Enjoy Your Simple and Stylish Tote Bag
Congratulations! You have completed your knit tote bag. Now, let’s talk about how to take care of it and explore other fun knitting projects.
- Taking care of your knit tote bag:
To keep your tote bag looking great, follow these simple steps:
- Hand wash only: Use cold water and mild detergent.
- Dry flat: Lay your bag on a towel to dry. Do not hang it, as this can stretch the fabric.
- Store properly: Keep your bag in a cool, dry place when not in use.
- Exploring other simple knitting projects:
Now that you have mastered the tote bag, here are some other easy projects to try:
- Scarves: A great way to practice different stitches.
- Hats: Perfect for learning how to knit in the round.
- Dishcloths: Quick and useful projects for beginners.
Knitting is a wonderful hobby that allows you to create beautiful and useful items. Keep practicing and enjoy your new tote bag!


