
Introduction to Knitting a Cowl for Beginners
Knitting is a fun and relaxing hobby that anyone can enjoy. If you’re new to knitting, starting with a simple project like a cowl is a great idea. In this section, we’ll cover the basics of knitting and explain why a cowl is perfect for beginners.
- Understanding the basics of knitting: Knitting involves creating fabric by interlocking loops of yarn with needles. The two main stitches are the knit stitch and the purl stitch. Once you learn these, you can make many different patterns.
- Why a cowl is a great beginner project: A cowl is a circular scarf that is easy to make. It doesn’t require shaping or complicated techniques. Plus, it’s a useful item that you can wear or gift to someone special.
Materials Needed for Knitting a Simple Cowl
-
Choosing the right yarn
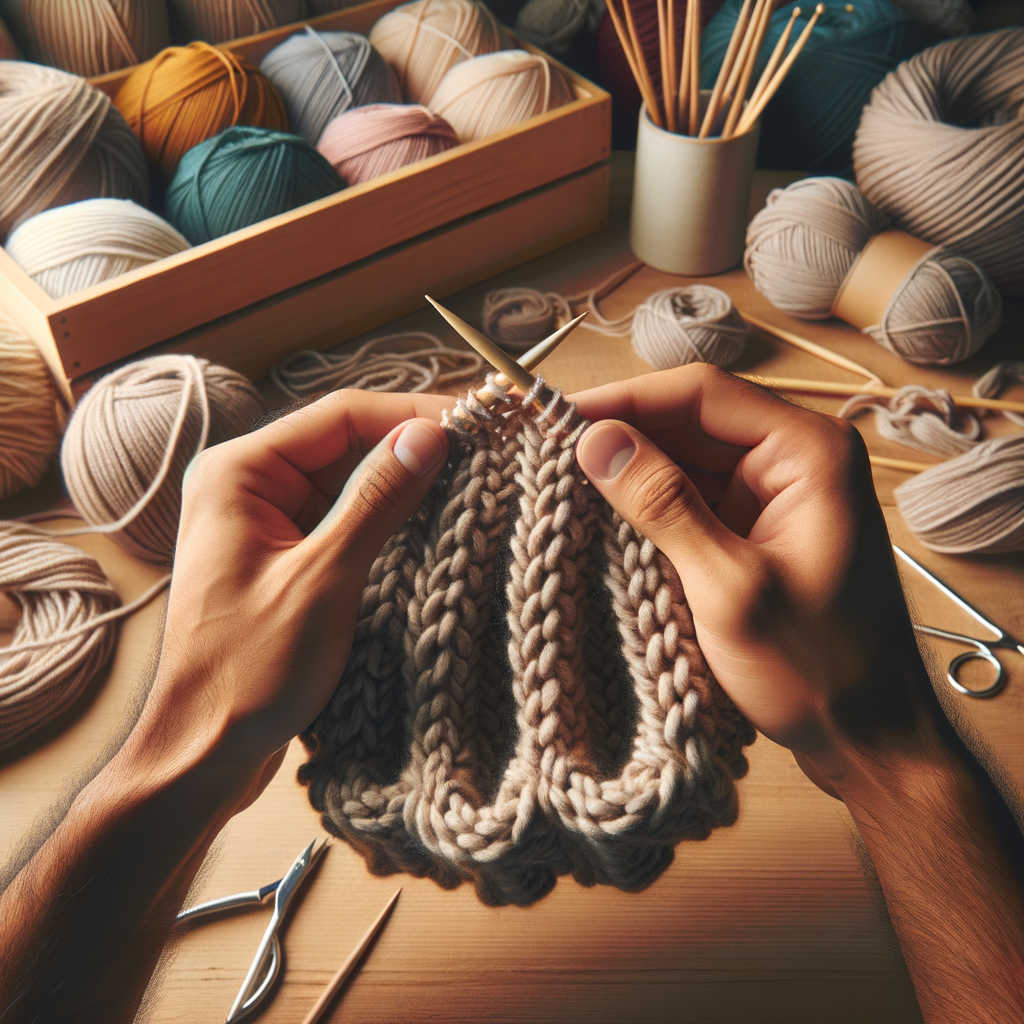
Yarn is the most important material for your cowl. You want something soft and warm. Wool or acrylic yarns are great choices. Look for yarn that is labeled as “worsted weight” or “bulky” for a cozy cowl.
-
Selecting knitting needles
Knitting needles come in different sizes. For a simple cowl, size 8 or 9 (5-5.5 mm) needles are perfect. You can use straight or circular needles. Circular needles are easier for knitting in the round.
-
Other essential knitting tools
Besides yarn and needles, you will need a few more tools:
- Scissors: To cut the yarn when you finish.
- Tapestry needle: To weave in the yarn ends.
- Stitch markers: To mark the beginning of your rounds.
- Measuring tape: To check the length of your cowl.
Step-by-Step Cowl Knitting Guide
Starting Your Knitting Project
-
How to Cast On
To start your cowl, you need to cast on stitches. This is the first step in knitting. Use a simple cast-on method, like the long-tail cast-on. Here’s how:
- Measure a long tail of yarn, about three times the width of your cowl.
- Make a slipknot and place it on your needle.
- Hold the needle in your right hand and the yarn in your left hand.
- Wrap the yarn around your thumb and index finger to create a loop.
- Slide the needle through the loop and pull the yarn tight.
Repeat these steps until you have the number of stitches you need. For a beginner cowl, 60 stitches is a good start.
-
Understanding Knitting and Purling
Knitting and purling are the two basic stitches in knitting. They create different textures and patterns. Here’s a quick guide:
Stitch How to Do It Result Knitting Insert the needle from front to back, wrap the yarn around, and pull through. Creates a smooth, “V” shaped pattern. Purling Insert the needle from back to front, wrap the yarn around, and pull through. Creates a bumpy, textured pattern. Practice these stitches until you feel comfortable. You will use them to create your cowl.
Knitting a Basic Cowl
-
Following a simple cowl knitting pattern:
To start knitting a basic cowl, you need a simple pattern. Patterns guide you on how many stitches to cast on and the type of stitches to use. A common pattern for beginners is the “Garter Stitch Cowl.” This pattern uses only knit stitches, making it easy to follow.
Here is a basic example:
Step Action 1 Cast on 60 stitches. 2 Knit every row until the piece measures 12 inches. 3 Bind off all stitches. Remember to keep your stitches even. This helps your cowl look neat and professional.
-
How to ensure your cowl is the right size:
Getting the right size is important for a comfortable fit. Here are some tips:
- Measure your neck: Use a measuring tape to find your neck’s circumference. Add a few inches for a loose fit.
- Check your gauge: Before starting, knit a small swatch. This helps you see how many stitches per inch you knit.
- Adjust as needed: If your cowl seems too tight or too loose, adjust the number of stitches you cast on.
For example, if your neck measures 14 inches and you want a loose fit, aim for a cowl that is about 18 inches around.
Using these steps ensures your cowl will be the perfect size for you or as a gift!
Finishing Your Knitting Project
-
How to Bind Off
Binding off is the final step in your knitting project. It secures your stitches so they don’t unravel. Here’s how to do it:
- Start by knitting the first two stitches on your needle.
- Use your left needle to lift the first stitch over the second stitch and off the needle.
- Knit another stitch so you have two stitches on your right needle again.
- Repeat lifting the first stitch over the second and off the needle.
- Continue this process until you have only one stitch left on your right needle.
- Cut the yarn, leaving a small tail, and pull it through the last stitch to secure it.
Binding off ensures your cowl has a neat edge. Practice makes perfect!
-
Finishing Touches for Your Cowl
Now that you’ve bound off your cowl, it’s time for the finishing touches. These steps will make your cowl look polished and professional:
- Weaving in Ends: Use a yarn needle to weave in any loose ends. This hides them and keeps your cowl looking tidy.
- Blocking: Wet your cowl and lay it flat to dry. This helps even out stitches and gives your cowl a smooth finish.
- Adding Embellishments: If you like, you can add buttons, tassels, or other decorations to personalize your cowl.
These finishing touches can make a big difference. They help your cowl look its best and ensure it lasts longer.
| Step | Description |
|---|---|
| Binding Off | Secures the stitches to prevent unraveling. |
| Weaving in Ends | Hides loose yarn ends for a tidy look. |
| Blocking | Helps even out stitches and smooth the cowl. |
| Adding Embellishments | Personalizes your cowl with decorations. |
Easy Cowl Knitting Patterns for Beginners
Knitting a cowl is a great project for beginners. Cowls are stylish and keep you warm. Here are three easy patterns to get you started:
-
Simple Garter Stitch Cowl
The garter stitch is one of the easiest stitches to learn. This cowl is perfect for beginners. All you need to do is knit every row.
Materials: Yarn, knitting needles, and a yarn needle.
Steps:
- Cast on 30 stitches.
- Knit every row until the cowl is 20 inches long.
- Bind off and sew the ends together.
-
Ribbed Cowl Pattern
The ribbed cowl is stretchy and cozy. It uses a simple pattern of knit and purl stitches.
Materials: Yarn, knitting needles, and a yarn needle.
Steps:
- Cast on 40 stitches.
- Work in a pattern of knit 2, purl 2 for each row.
- Continue until the cowl is 22 inches long.
- Bind off and sew the ends together.
-
Seed Stitch Cowl Pattern
The seed stitch cowl has a lovely texture. This pattern alternates between knit and purl stitches.
Materials: Yarn, knitting needles, and a yarn needle.
Steps:
- Cast on 35 stitches.
- For the first row, knit 1, purl 1 across the row.
- For the second row, purl 1, knit 1 across the row.
- Repeat these two rows until the cowl is 24 inches long.
- Bind off and sew the ends together.
Tips for a Successful Knitting Project
-
Keeping your stitches consistent:
One of the most important parts of knitting is keeping your stitches even. This means making sure each stitch is the same size. To do this, try to keep the same tension on your yarn. If your stitches are too tight, your project will be stiff. If they are too loose, it will be floppy. Practice makes perfect!
-
How to fix common knitting mistakes:
Everyone makes mistakes, even experienced knitters. If you drop a stitch, don’t worry! Use a crochet hook to pick it back up. If you notice a mistake a few rows back, you can carefully unravel your work to fix it. Remember, it’s all part of the learning process.
-
Making your cowl extra cozy:
To make your cowl extra cozy, choose a soft and warm yarn. Wool is a great choice because it is both warm and breathable. You can also add a lining to your cowl for extra warmth. A fleece or flannel lining can make your cowl even more comfortable.
Examples of DIY Knitted Cowls
-
Case Study: A Beginner’s First Cowl
Meet Jane, a first-time knitter. She decided to make a cowl as her first project. Jane chose a simple pattern with basic stitches. She used soft, chunky yarn and size 10 needles.
Jane followed a step-by-step guide and completed her cowl in just a few days. She felt proud and excited to wear her creation. Jane’s experience shows that even beginners can make beautiful cowls with the right guidance.
-
Case Study: A Quick Cowl Knitting Project
Tom is an experienced knitter but wanted a quick project. He decided to knit a cowl for a friend’s birthday. Tom picked a pattern that could be finished in a weekend.Using medium-weight yarn and size 8 needles, Tom completed the cowl in just two days. His friend loved the gift, and Tom enjoyed the quick, satisfying project. This case shows that cowls can be a great choice for fast, thoughtful gifts.
Key Takeaways from This Beginner-Friendly Cowl Knitting Guide
- Understanding the basics of knitting: This guide helps you learn the fundamental skills needed to start knitting. You will understand how to hold the needles, make basic stitches, and read simple patterns.
- Following a step-by-step guide: With clear instructions, you can follow each step easily. The guide breaks down the process into manageable parts, making it simple to follow along.
- Completing a cozy, DIY knitted cowl: By the end of this guide, you will have created your very own knitted cowl. This project is perfect for beginners and will give you a sense of accomplishment.
| Key Point | Details |
|---|---|
| Basics of Knitting | Learn how to hold needles, make stitches, and read patterns. |
| Step-by-Step Guide | Follow clear, easy-to-understand instructions. |
| DIY Knitted Cowl | Create a cozy cowl by the end of the guide. |
Remember, knitting is a skill that improves with practice. Don’t be discouraged if your first project isn’t perfect. Keep practicing, and soon you’ll be creating beautiful knitted items with ease.
As you continue your knitting journey, refer back to this guide whenever you need a refresher. Happy knitting!


