Introduction to I-Cord Bind-Off Technique
Welcome to the fascinating world of knitting techniques! Today, we’ll be exploring the I-Cord Bind-Off technique, a method that can add a professional touch to your knitting projects. We’ll delve into its definition, history, and benefits. Let’s get started!
-
Definition of I-Cord Bind-Off technique
The I-Cord Bind-Off is a knitting technique that creates a tubular edge, giving your project a neat, finished look. It’s a method that involves knitting a small, separate tube (the I-Cord) and attaching it to the edge of your work as you bind off. This technique can be used on any edge where you want a smooth, rounded finish.
-
History and origin of the I-Cord Bind-Off method
The I-Cord Bind-Off technique has a rich history. It was first introduced by Elizabeth Zimmermann, a British-born knitter and designer who revolutionized the art of knitting in the mid-20th century. Zimmermann was known for her innovative techniques, and the I-Cord Bind-Off was one of her many contributions to the knitting world. The ‘I’ in I-Cord stands for ‘Idiot’ as Zimmermann believed this technique was so simple, anyone could master it!
-
Benefits of using the I-Cord Bind-Off technique in knitting
There are several benefits to using the I-Cord Bind-Off technique. Firstly, it gives your work a professional, polished look. It’s perfect for projects that need a sturdy, yet flexible edge, like blankets and shawls. Secondly, it’s a versatile technique that can be used with any type of yarn and on any edge. Lastly, it’s a great way to add a pop of color to your project, as you can use a different colored yarn for the I-Cord. This technique not only enhances the functionality of your knitted items but also their aesthetic appeal.
Now that we’ve covered the basics, let’s dive deeper into the I-Cord Bind-Off technique and learn how to master it!
Understanding the Basics of I-Cord Bind-Off
Before we delve into the step-by-step guide on how to perform I-Cord Bind-Off, it’s crucial to understand the basic materials you will need. Having the right tools will ensure a smooth knitting experience and a polished end result.
Materials Needed for I-Cord Bind-Off
There are two main materials you will need for I-Cord Bind-Off: the yarn and the knitting needles. Let’s take a closer look at each one:
- Types of yarn suitable for I-Cord Bind-Off
- Recommended knitting needles for I-Cord Bind-Off
When choosing yarn for I-Cord Bind-Off, consider the weight and texture. Medium-weight yarns, such as worsted or aran, are often recommended because they provide a good balance between durability and ease of use. As for texture, smooth yarns are usually easier to work with than fuzzy or textured ones. However, the choice of yarn ultimately depends on the project you’re working on and your personal preference.
The size of the knitting needles should correspond to the weight of the yarn. For medium-weight yarns, a size 7-9 (4.5-5.5mm) needle is typically suitable. It’s also important to choose needles that feel comfortable in your hands. Many knitters prefer circular needles for I-Cord Bind-Off because they allow the work to be easily turned.
In conclusion, the right materials can make a significant difference in your I-Cord Bind-Off experience. By choosing suitable yarn and comfortable knitting needles, you can ensure a smooth and enjoyable knitting process.
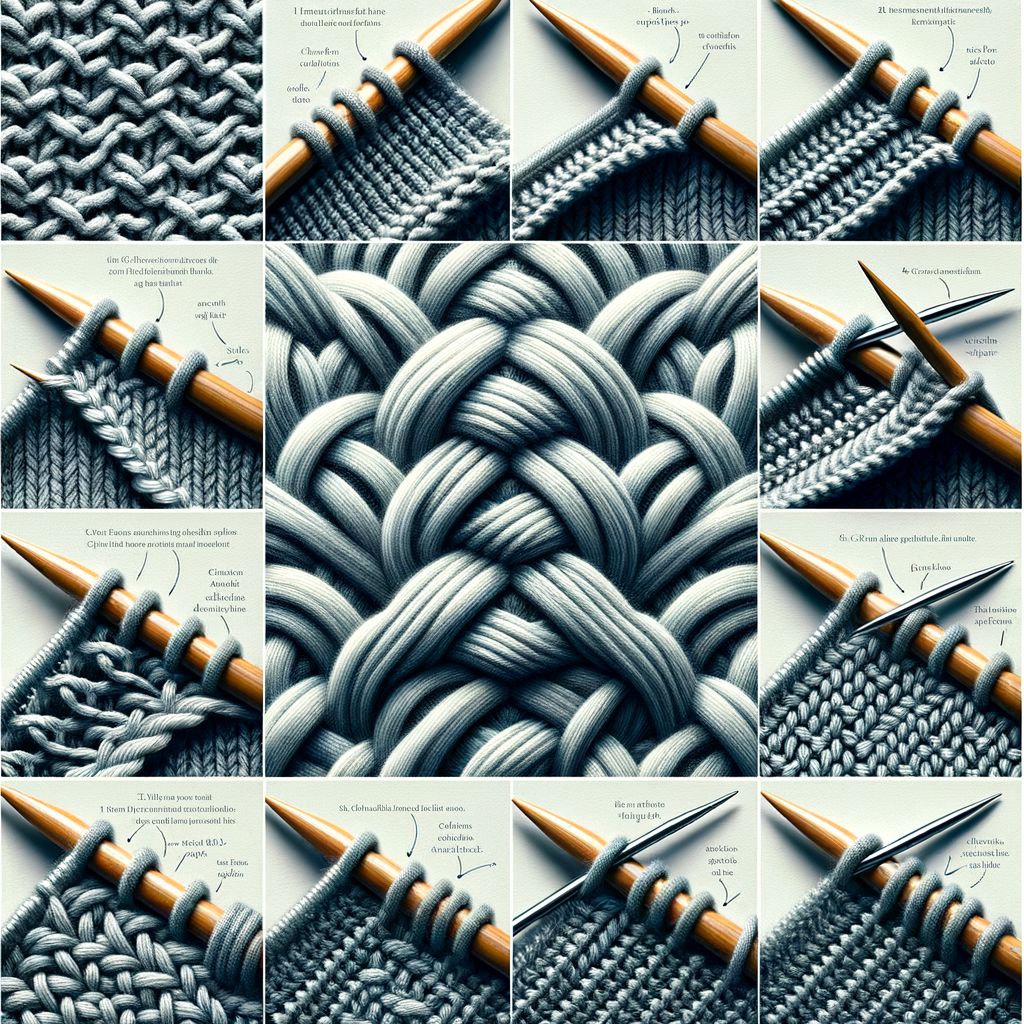
Steps to Perform I-Cord Bind-Off
-
Starting the I-Cord Bind-Off
Beginning the I-Cord Bind-Off is the first step towards creating a clean, professional edge on your knitting project. To start, cast on three additional stitches at the beginning of your row. This can be done using a simple knitted cast-on method. Now, you should have your original stitches plus three extra ones on your needle.
-
Continuing the I-Cord Bind-Off
Once you’ve started, it’s time to continue the I-Cord Bind-Off. Knit the first two stitches normally, then knit the next two stitches together through the back loops. This will create a neat, rounded edge that resembles a cord. After this, slip the three stitches you just worked back onto the left needle without twisting them. Repeat these steps across the row, ensuring each stitch is worked in the same manner.
-
Finishing the I-Cord Bind-Off
The final step in performing an I-Cord Bind-Off is to finish off the cord. Once you’ve worked all the stitches in your row, you’ll be left with three stitches on your right needle. To finish, cut your yarn, leaving a tail long enough to weave in. Thread this tail through a yarn needle, and then through the remaining three stitches, removing them from the knitting needle as you go. Pull tight to secure, and weave in your ends. Congratulations, you’ve just completed an I-Cord Bind-Off!
I-Cord Bind-Off Tutorial: Step-by-Step Guide
Before we delve into the actual steps of the I-Cord Bind-Off technique, it’s crucial to prepare your knitting project properly. This involves choosing the right yarn and needles, and setting up your knitting project. Let’s explore these steps in detail.
Preparing Your Knitting Project
Preparation is key in knitting. The right materials and setup can make the difference between a successful project and a frustrating experience. Here are some tips to help you get started:
- Choosing the right yarn and needles
- Setting up your knitting project
Choosing the right yarn and needles is the first step in any knitting project. The type of yarn you choose will determine the texture and appearance of your finished project. For the I-Cord Bind-Off technique, a medium-weight yarn is recommended as it provides a nice balance between flexibility and durability. As for the needles, a pair of size 8 or 9 knitting needles should work well with medium-weight yarn.
Once you have your yarn and needles, it’s time to set up your knitting project. Start by casting on the number of stitches specified in your pattern. Make sure to leave a long tail of yarn at the beginning, as you’ll need this for the I-Cord Bind-Off. Then, knit a few rows to establish the base of your project before you start the I-Cord Bind-Off.
With these preparations in place, you’re now ready to start the I-Cord Bind-Off technique. Remember, practice makes perfect. So, don’t be discouraged if you don’t get it right the first time. Keep trying, and soon you’ll be creating beautiful, professional-looking edges on your knitting projects.
Executing the I-Cord Bind-Off
Now that we’ve prepared our knitting project, it’s time to execute the I-Cord Bind-Off. This technique is a three-step process that will give your knitting edges a clean, professional finish. Let’s break down each step:
- Step 1: Starting the I-Cord
- Step 2: Binding off the stitches
- Step 3: Finishing the I-Cord Bind-Off
To start the I-Cord, you’ll need to cast on three additional stitches at the beginning of your row. You can do this using the knitted cast-on method. Once you’ve cast on these stitches, you’re ready to start the I-Cord Bind-Off.
Now, we move on to binding off the stitches. Knit the first two stitches, then knit the next two stitches together through the back loop. Slip the three stitches you’ve just worked back onto the left-hand needle. Repeat this process across the entire row.
Once you’ve worked your way across the row, you’ll be left with three stitches on your right-hand needle. To finish off the I-Cord, cut your yarn, leaving a tail. Thread this tail through a yarn needle, and then thread it through the remaining stitches, removing them from the knitting needle. Pull tight to secure.
By following these steps, you’ll create a beautifully finished edge that adds a professional touch to your knitting projects. The I-Cord Bind-Off is a versatile technique that can be used in a variety of projects, from scarves and blankets to sweaters and hats.
Remember:
Practice makes perfect. Don’t be discouraged if your first few attempts don’t turn out as you’d like. With patience and practice, you’ll soon master the I-Cord Bind-Off technique.
Creating Clean and Polished Knitting Edges with I-Cord Bind-Off
When it comes to knitting, the finishing touches can make all the difference. The I-Cord Bind-Off technique is a fantastic way to create clean, polished edges on your knitting projects. This method not only gives your work a professional finish but also adds a touch of elegance to your knitted items. Let’s explore some tips and tricks to achieve polished edges with the I-Cord Bind-Off technique.
Tips and Tricks for Polished Edges
Here are some key insights to help you master the art of creating polished edges with the I-Cord Bind-Off technique:
- Maintaining tension in your I-Cord Bind-Off
- Choosing the right yarn for clean edges
One of the most crucial aspects of the I-Cord Bind-Off technique is maintaining the right tension. Too loose, and your edge will be sloppy; too tight, and it could curl or distort. Practice makes perfect, so don’t be discouraged if you don’t get it right the first time. Keep practicing, and you’ll soon find the perfect balance.
The type of yarn you choose can significantly impact the final look of your I-Cord Bind-Off. For a clean, polished edge, opt for a smooth, high-quality yarn. Avoid yarns with too much texture or fuzziness, as they can make your edge look messy. Remember, the goal is to create a sleek, professional finish.
By following these tips, you can create beautiful, polished edges on your knitting projects using the I-Cord Bind-Off technique. Remember, practice is key, and don’t be afraid to experiment with different yarns until you find the one that gives you the best results. Happy knitting!
Common Mistakes and How to Avoid Them
While the I-Cord bind-off technique can create clean and polished knitting edges, it’s not uncommon for beginners to make a few mistakes. Let’s look at two of the most common ones and how you can avoid them.
- Mistake 1: Loose I-Cord edges
- Mistake 2: Uneven tension in the I-Cord
One of the common mistakes when using the I-Cord bind-off technique is creating loose edges. This can make your finished product look sloppy and unprofessional. The key to avoiding this mistake is to maintain consistent tension throughout your work.
Here’s a tip: Practice makes perfect. The more you practice, the better you’ll get at maintaining the right tension. And remember, it’s better to have a tighter I-Cord than a loose one. You can always loosen a tight I-Cord, but you can’t tighten a loose one.
Another common mistake is uneven tension in the I-Cord. This can lead to an uneven edge and can distort the shape of your finished product. The key to avoiding this mistake is to ensure that you’re pulling the yarn with the same amount of force each time you make a stitch.
Here’s a tip: Pay attention to how you’re holding the yarn and how much force you’re using to pull it. If you notice that your tension is uneven, take a moment to adjust your grip and the force you’re using. Remember, consistency is key when it comes to creating a clean and polished edge with the I-Cord bind-off technique.
By avoiding these common mistakes, you can create clean and polished knitting edges that look professional and are durable. So, keep practicing and happy knitting!
Case Studies: Successful Use of I-Cord Bind-Off Technique
Let’s take a look at some real-life examples where the I-Cord Bind-Off technique has been used successfully to create clean and professional edges in knitting projects.
- Case Study 1: Achieving professional edges in a sweater project
- Case Study 2: Using I-Cord Bind-Off for clean edges in a scarf project
Our first case study involves a knitter named Jane. Jane was working on a complex sweater project and wanted to ensure that the edges of her sweater looked as professional as possible. She decided to use the I-Cord Bind-Off technique.
After using the I-Cord Bind-Off, Jane noticed a significant improvement in the quality of her edges. They were no longer uneven or frayed, but instead, they were smooth and polished. Jane was thrilled with the results and has continued to use the I-Cord Bind-Off technique in her subsequent projects.
Key Insight: The I-Cord Bind-Off technique can significantly improve the quality of edges in complex knitting projects like sweaters.
Our second case study features a knitter named Mark. Mark was knitting a scarf and wanted to ensure that the edges of his scarf were clean and tidy. He decided to use the I-Cord Bind-Off technique.
After using the I-Cord Bind-Off, Mark noticed that the edges of his scarf were much cleaner and more defined. He was very pleased with the results and has since used the I-Cord Bind-Off technique in all his scarf projects.
Key Insight: The I-Cord Bind-Off technique can create clean and defined edges in simple knitting projects like scarves.
In conclusion, the I-Cord Bind-Off technique is a powerful tool for any knitter looking to create clean, professional edges in their projects. Whether you’re knitting a complex sweater or a simple scarf, the I-Cord Bind-Off can help you achieve the results you’re looking for.
Conclusion: Mastering the I-Cord Bind-Off for Sleek, Professional Edges
As we wrap up our journey into the world of the I-Cord Bind-Off technique, let’s take a moment to reflect on what we’ve learned and the importance of continuous practice in mastering this method.
- Recap of the I-Cord Bind-Off tutorial
- Importance of practice in mastering the I-Cord Bind-Off method
We started with an introduction to the I-Cord Bind-Off technique, explaining its unique characteristics and benefits. We then delved into the basics, breaking down the process into easy-to-understand steps. Our step-by-step guide walked you through the entire process, from casting on to creating a clean, polished edge. We also showcased several case studies, demonstrating the successful use of the I-Cord Bind-Off technique in various knitting projects.
As with any new skill, practice is key to mastering the I-Cord Bind-Off technique. The more you use this method, the more comfortable and proficient you’ll become. Remember, each knitting project is an opportunity to refine your skills and create beautiful, professional-looking edges. So, don’t be discouraged if your first few attempts aren’t perfect. Keep practicing, and you’ll soon see improvement.
In conclusion, the I-Cord Bind-Off technique is a valuable tool in your knitting arsenal. It offers a sleek, professional finish to your projects, setting them apart from others. With patience and practice, you can master this technique and elevate your knitting skills to new heights.
Keep knitting, keep learning, and most importantly, keep enjoying the process. Happy knitting!


