
Introduction to Knitting Needle Sizes
Knitting is a wonderful craft that allows you to create beautiful and unique items. One of the key aspects of knitting that you need to understand is the importance of knitting needle sizes. The size of your knitting needle can greatly affect the outcome of your projects, so it’s crucial to choose the right size for each project.
- Understanding the importance of knitting needle sizes
- How knitting needle sizes affect your projects
Knitting needle sizes are incredibly important in knitting. The size of the needle determines how big or small your stitches will be. Larger needles create larger stitches, which results in a looser fabric. Smaller needles create smaller stitches, leading to a tighter, denser fabric. Understanding this concept is essential for any knitter, as it allows you to control the texture and appearance of your finished product.
The size of your knitting needle can greatly affect the outcome of your projects. For example, if you’re knitting a sweater, using a larger needle size than recommended can result in a garment that’s too big and loose. On the other hand, using a smaller needle size can make the sweater too tight and small. Therefore, it’s crucial to use the correct needle size for each project to ensure the best results.
Moreover, the needle size can also affect the speed of your knitting. Larger needles allow you to knit faster, as each stitch is bigger. Smaller needles, however, require more stitches to cover the same area, so knitting with them can take longer.
In conclusion, understanding knitting needle sizes and how they affect your projects is a crucial part of mastering the craft of knitting. By choosing the right needle size for each project, you can ensure that your finished items are just the way you want them to be.
Knitting Gauge Guide
When it comes to knitting, precision is key. One tool that can help you achieve this is the knitting gauge. In this section, we will delve into what a knitting gauge is and why it is crucial for accurate knitting projects.
- What is a knitting gauge?
- Why is a knitting gauge crucial for accurate knitting projects?
A knitting gauge, also known as a tension square or swatch, is a small sample of knitted fabric. It’s used to measure the number of stitches and rows per inch. This tool is essential because it helps you determine how tight or loose your stitches should be. The knitting gauge is typically made using the same yarn and needles you plan to use for your project.
Using a knitting gauge is crucial for accurate knitting projects for several reasons. Firstly, it ensures that your finished project will be the correct size. If your gauge is off, even by a little, your entire project could end up too small or too large. Secondly, it helps maintain consistent tension throughout your project. This means that all your stitches will be evenly spaced, resulting in a professional-looking finish. Lastly, it can help you estimate how much yarn you’ll need for your project, preventing you from running out of yarn halfway through.
Understanding and using a knitting gauge correctly can make a significant difference in the outcome of your knitting projects. It may seem like an extra step, but it’s worth the effort to ensure your project turns out just as you envisioned.
Knitting Needle Measurements
Understanding the measurements of knitting needles is crucial for any knitting project. It helps you select the right needle for your project, ensuring the final product is of the desired size and texture.
Understanding Knitting Needle Measurements
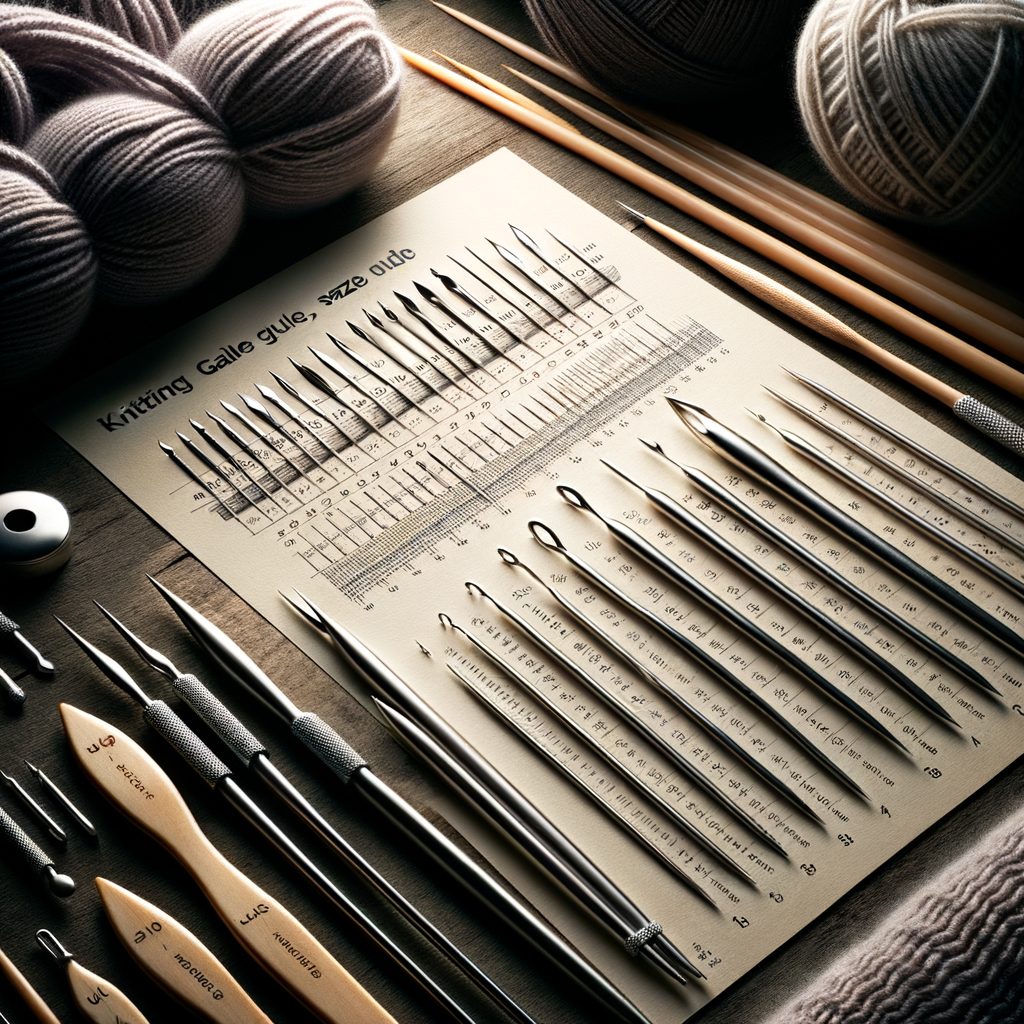
Knitting needle measurements refer to the diameter of the needle. The measurement is usually in millimeters (mm) or a numbered system that varies by country. The larger the number, the larger the diameter of the needle. Let’s delve into how to measure knitting needles and common knitting needle measurements.
- How to measure knitting needles
- Common knitting needle measurements
To measure the diameter of a knitting needle, you need a knitting needle gauge. This tool has holes of different sizes. You insert the needle into the holes until you find one where the needle fits snugly without forcing. The number next to this hole is the size of your needle.
Common knitting needle measurements range from 2.0mm to 15.0mm. In the US numbering system, this corresponds to sizes 0 to 19. Remember, the larger the number, the larger the needle, and the larger the stitches and rows will be.
Understanding knitting needle measurements is key to achieving the desired results in your knitting projects. It allows you to select the right needle for your yarn and pattern, ensuring your final product has the correct size and texture.
Knitting Needle Size Guide
Understanding the size of your knitting needles is crucial for any knitting project. The size of the needle determines the size of the stitches and ultimately the final look of your project. Let’s delve into the size guides for different types of knitting needles.
- Size guide for circular knitting needles
- Size guide for double-pointed knitting needles
- Size guide for straight knitting needles
Circular knitting needles are used for knitting in the round or for flat knitting. They consist of two needle tips connected by a flexible cable. The size of circular needles is determined by the diameter of the needle tip and the length of the cable.
For example, a US size 8 circular needle has a diameter of 5mm. The cable length can range from 16 inches for small projects like hats, up to 60 inches for large projects like blankets.
| US Size | Diameter | Common Cable Lengths |
|---|---|---|
| 8 | 5mm | 16″, 24″, 32″, 40″, 60″ |
Double-pointed needles (DPNs) are used for knitting small circular projects like socks, sleeves, and the tops of hats. They come in sets of four or five and are sized by diameter and length.
For instance, a US size 6 DPN has a diameter of 4mm and is commonly 7-8 inches long.
| US Size | Diameter | Common Lengths |
|---|---|---|
| 6 | 4mm | 7″, 8″ |
Straight knitting needles are the most traditional type. They are used for flat knitting and are sized by diameter and length. The length of the needle can affect the number of stitches you can comfortably fit on the needle.
A US size 10 straight needle, for example, has a diameter of 6mm and is typically 10-14 inches long.
| US Size | Diameter | Common Lengths |
|---|---|---|
| 10 | 6mm | 10″, 14″ |
Essential Knitting Tools
Knitting is a craft that requires a few essential tools to get started. These tools not only make the process easier but also help you create beautiful and precise patterns. Let’s delve into some of these necessary knitting tools.
- Importance of a knitting needle gauge in your toolkit
- Other essential tools for knitting
- Knitting Needles: These are the primary tools for knitting. They come in various sizes and types, such as straight, circular, or double-pointed needles.
- Yarn: Yarn is the material you’ll use to create your knitted items. It comes in a variety of types, including wool, cotton, silk, and synthetic materials. The type of yarn you choose depends on the project you’re working on.
- Scissors: A good pair of scissors is essential for cutting your yarn. It’s best to have a pair dedicated solely to your knitting projects to ensure they stay sharp and clean.
- Tape Measure: A tape measure is used to check the size of your knitted items. It’s especially important when you’re knitting clothing items that need to fit a specific size.
A knitting needle gauge is a must-have in your knitting toolkit. This tool is used to measure the size of your knitting needles. It’s essential because different knitting projects require different needle sizes. For instance, a chunky scarf may require larger needles, while a delicate baby blanket might need smaller ones.
Moreover, a knitting needle gauge can help you maintain consistency in your projects. If you start a project with a certain needle size, you’ll want to ensure you’re using the same size throughout. This is where a knitting needle gauge comes in handy. It helps you avoid any guesswork and ensures your project turns out exactly as you planned.
Beyond the knitting needle gauge, there are other tools that are equally important for knitting. Here are a few:
Knitting needles are used to create the stitches in your knitting project. The size and type of needle you choose can significantly affect the outcome of your project.
For instance, wool yarn is warm and elastic, making it perfect for sweaters and hats. On the other hand, cotton yarn is cool and sturdy, making it ideal for dishcloths and summer tops.
In conclusion, having the right tools in your knitting toolkit can make a significant difference in your knitting experience. They not only make the process easier but also help you create beautiful and precise knitted items. So, make sure you have these essential knitting tools in your toolkit before you start your next project.
Knitting Needle Gauge Chart
Understanding the knitting needle gauge chart is a crucial step in mastering your craft. This chart helps you determine the size of your knitting needles, which directly affects the size and fit of your final product. Let’s delve into how to use this indispensable tool.
How to Use a Knitting Needle Gauge Chart
Using a knitting needle gauge chart is not as complex as it may seem. Here’s a simple, step-by-step guide to help you navigate this process.
- Step-by-step guide to using a knitting needle gauge chart
- Examples of knitting needle gauge charts
1. Start by identifying the size of your knitting needle. This is usually marked on the needle itself.
2. If the size is not marked, use the knitting needle gauge chart. Place your needle in the holes of the gauge until you find a perfect fit. The number next to the hole is your needle size.
3. Use this size to determine the type of yarn and the number of stitches you need per inch for your project.
4. Always remember to do a test swatch before starting your project to ensure your gauge matches the pattern’s requirements.
Knitting needle gauge charts can vary in design, but they all serve the same purpose. Some charts are circular with different sized holes around the edge, while others are rectangular with a row of holes. They all have numbers next to the holes, indicating the needle sizes. Here’s an example:
| Needle Size (US) | Needle Size (mm) |
|---|---|
| 0 | 2.0 |
| 1 | 2.25 |
| 2 | 2.75 |
| 3 | 3.25 |
This table represents a simple knitting needle gauge chart. The left column represents the US needle size, while the right column represents the corresponding size in millimeters.
Mastering the use of a knitting needle gauge chart can significantly improve your knitting skills. It ensures that your projects turn out just as you envision them, fitting perfectly and looking professional. Happy knitting!
Advanced Knitting Techniques
As you progress in your knitting journey, you’ll discover that there’s always more to learn. Advanced knitting techniques can help you create more intricate patterns, improve your speed, and enhance the overall quality of your projects. In this section, we will focus on improving your knitting project accuracy.
Improving Your Knitting Project Accuracy
Accuracy in knitting is crucial. It ensures that your finished project matches the pattern you’re following in terms of size, shape, and overall appearance. Here are some techniques and common mistakes to watch out for to improve your knitting accuracy.
- Techniques for more accurate knitting
- Consistent Tension: Maintaining consistent tension on your yarn is key. Too loose or too tight, and your stitches won’t be uniform, affecting the final product’s size and shape.
- Proper Needle Size: Using the correct needle size for your yarn and project can significantly impact your knitting accuracy. Always refer to your pattern’s suggested needle size.
- Counting Stitches: Regularly counting your stitches can prevent errors. It’s easy to add or drop stitches without realizing it, especially when you’re new to knitting.
- Common mistakes and how to avoid them
- Twisted Stitches: This happens when you knit into the back of a stitch instead of the front. Always make sure you’re knitting into the correct part of the stitch.
- Incorrect Yarn Over: A yarn over is a common way to increase stitches, but it can be easy to do it incorrectly, resulting in extra stitches. Practice your yarn overs to get them right.
- Dropped Stitches: If you notice a loose loop or a hole in your knitting, you’ve probably dropped a stitch. To avoid this, always check your work after each row.
There are several techniques you can use to improve your knitting accuracy. Here are a few:
Even experienced knitters make mistakes. Here are a few common ones and how to avoid them:
Remember, practice makes perfect. The more you knit, the better you’ll become at avoiding these common mistakes and improving your overall knitting accuracy. Happy knitting!
Understanding Knitting Gauges
Knitting gauges are a crucial part of the knitting process. They determine the size and fit of your final product. Understanding how to use and adjust them can significantly improve your knitting skills.
- How knitting gauges affect the final product
- How to adjust your knitting gauge for different projects
Knitting gauges are measures of how many stitches and rows fit into a one-inch square. They are used to ensure that the final product matches the size indicated in the pattern. If your gauge is off, your final product may be too large or too small.
For instance, if a pattern calls for a gauge of 5 stitches per inch and you are knitting at 4 stitches per inch, your final product will be larger than expected. This is because your stitches are larger than those specified in the pattern.
Adjusting your knitting gauge is essential when working on different projects. If your gauge does not match the pattern’s gauge, you can adjust it by changing your needle size or your knitting tension.
To adjust your gauge, you first need to knit a gauge swatch. This is a small square of knitting that you measure to determine your gauge. If your gauge is too loose (too few stitches per inch), you should use smaller needles. If your gauge is too tight (too many stitches per inch), you should use larger needles.
It’s important to remember that everyone’s knitting tension is different. What works for one person may not work for another. Therefore, always knit a gauge swatch before starting a new project to ensure your final product is the correct size.
In conclusion, understanding and adjusting your knitting gauge is a vital skill in knitting. It ensures that your final product is the correct size and fit. So, take the time to learn about knitting gauges and how to adjust them. Your knitting projects will thank you!
Conclusion: Mastering Your Craft
As we conclude this comprehensive guide on knitting, it’s crucial to remember the importance of mastering your craft. Let’s take a moment to recap some of the key points we’ve covered, particularly the significance of understanding knitting needle gauges and some final tips to ensure your knitting projects are accurate and beautiful.
- Recap of the importance of understanding knitting needle gauges
- Final tips for accurate knitting projects
- Always make a gauge swatch before starting a project.
- Use the right tools for the job. This includes the correct size of knitting needles and the appropriate type of yarn for your project.
- Practice makes perfect. The more you knit, the better you’ll get at understanding your personal knitting gauge and how to adjust it as needed.
- Don’t rush. Take your time to ensure each stitch is made correctly.
Understanding knitting needle gauges is a fundamental aspect of knitting. It’s the secret to achieving the right size and fit for your projects. Remember, the gauge is the number of stitches and rows per inch that you get with a specific size of needles. It’s essential to always make a gauge swatch before starting a project to ensure you’re using the correct needle size. This knowledge will help you avoid any unwelcome surprises and ensure your finished project matches your expectations.
Accuracy in knitting is all about attention to detail. Here are some final tips to help you master your craft:
Mastering the art of knitting is a journey, not a destination. It’s about constantly learning and improving your skills. With a solid understanding of knitting needle gauges and a commitment to accuracy, you’re well on your way to becoming a master knitter. Happy knitting!


