Introduction to Knitting Techniques
Knitting is a fascinating and rewarding craft that has been practiced for centuries. It involves the use of two needles and yarn to create a fabric. The beauty of knitting lies in the variety of techniques and methods available, each offering a unique texture and pattern. This section will provide an overview of knitting methods and discuss the importance of mastering advanced knitting techniques.
- Overview of Knitting Methods
- Importance of Mastering Advanced Knitting Techniques
Knitting methods are varied and diverse, each with its unique style and application. The most basic form of knitting is the garter stitch, which is created by knitting every row. The stockinette stitch, on the other hand, is achieved by alternating knit and purl rows. Other popular knitting methods include the rib stitch, moss stitch, and lace knitting. Each method offers a different texture and appearance, making knitting a versatile craft.
While beginners can create beautiful items with basic knitting techniques, mastering advanced techniques can significantly enhance your knitting projects. Advanced techniques such as cable knitting, colorwork, and lace knitting can add depth, texture, and intricate patterns to your work. Furthermore, these techniques can open up a wider range of project possibilities, from intricate sweaters and shawls to detailed toys and decorations. Mastering these techniques can also provide a sense of accomplishment and boost your confidence as a knitter.
In conclusion, understanding and mastering a variety of knitting techniques can greatly enrich your knitting experience. Whether you’re a beginner or an experienced knitter, there’s always a new technique to learn and master. So, pick up your needles and yarn, and let’s explore the wonderful world of knitting together!
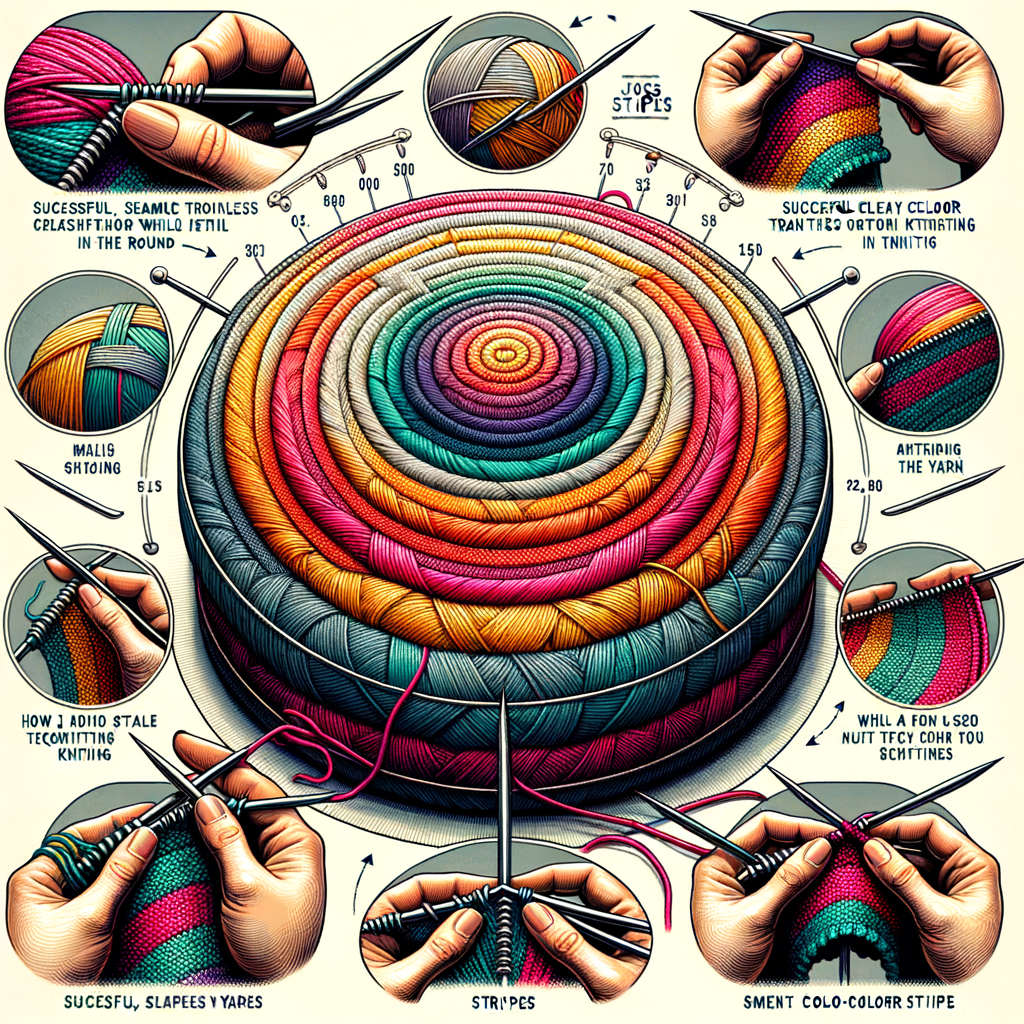
Understanding Seamless Color Changes
Seamless color changes in knitting are a fascinating technique that can take your knitting projects to the next level. In this section, we will delve into what seamless color changes are and the benefits they offer.
- What are seamless color changes in knitting?
- Benefits of seamless color transitions
Seamless color changes, also known as jogless stripes, are a knitting technique where you switch yarn colors without creating a noticeable jump or “jog” in the pattern. This technique allows you to create smooth, continuous stripes or color patterns in your knitting projects. It’s like magic – one color flows into the next without any visible line or break!
Seamless color transitions in knitting offer several benefits. Firstly, they provide a professional finish to your knitting projects, making them look more polished and high-quality. Secondly, seamless color changes allow for more creative freedom. You can experiment with different color combinations and patterns without worrying about jogs or breaks in the design. Lastly, mastering this technique can boost your confidence as a knitter, as it’s a skill that requires practice and precision.
Here’s a table summarizing the benefits of seamless color transitions:
| Benefits | Description |
|---|---|
| Professional Finish | Seamless color changes give your knitting projects a polished, high-quality look. |
| Creative Freedom | You can experiment with different color combinations and patterns without worrying about jogs or breaks. |
| Boosts Confidence | Mastering this skill can increase your confidence as a knitter. |
Now that you understand what seamless color changes are and their benefits, you’re ready to take your knitting projects to the next level. Happy knitting!
Introduction to Jogless Stripes
Knitting is a craft that requires precision and creativity. One of the techniques that can elevate your knitting game is the use of jogless stripes. But what are jogless stripes, and why are they important in knitting? Let’s dive in and explore.
- Definition of Jogless Stripes
- Why Jogless Stripes are Important in Knitting
- Seamless Look: The main benefit of jogless stripes is that they provide a seamless look to your knitting projects. This is especially important when you’re working with multiple colors.
- Professional Finish: Jogless stripes give your work a professional finish. It’s a small detail that can make a big difference in the overall look of your project.
- Enhanced Skills: Learning how to knit jogless stripes can enhance your knitting skills. It’s a technique that requires a bit of practice, but once you master it, you’ll be able to apply it to various projects.
Jogless stripes refer to a knitting technique used to create seamless color changes when knitting in the round. Normally, when you change colors in knitting, you end up with a noticeable “jog” or step between the rows. This can interrupt the smooth flow of your stripes, making them look uneven. Jogless stripes technique helps to eliminate this jog, giving your stripes a smooth, seamless look.
Now that we know what jogless stripes are, let’s talk about why they are important. Jogless stripes are crucial in knitting for a few reasons:
In conclusion, jogless stripes are a valuable technique in the world of knitting. They allow for smooth color transitions, giving your work a professional and polished look. So, whether you’re a beginner or an experienced knitter, mastering jogless stripes can take your knitting projects to the next level.
Jogless Stripes Tutorial
Knitting jogless stripes is a technique that allows you to create seamless color transitions in your knitting projects. This tutorial will guide you through the process step-by-step. But first, let’s gather the necessary materials.
Materials Needed
Before we begin, it’s important to ensure we have all the necessary tools and materials. Here’s what you’ll need:
- Knitting Tools: You’ll need a pair of knitting needles suitable for your yarn weight. For most jogless stripes projects, a US size 8 (5mm) or 9 (5.5mm) needle works well. You’ll also need a stitch marker to help keep track of the beginning of your rounds.
- Yarn: Choosing the right yarn colors is crucial for a successful jogless stripes project. You’ll need at least two different colors, but feel free to get creative with more. Make sure the yarns are of the same weight to ensure even knitting.
Now that we have our materials ready, we can start knitting. Remember, practice makes perfect. Don’t be discouraged if your first attempt isn’t perfect. Keep trying, and soon you’ll be knitting jogless stripes like a pro.
Stay tuned for the next section where we will walk through the step-by-step guide to knitting jogless stripes.
Step-by-Step Guide
- Starting your knitting project:
Begin your knitting project by choosing the right yarn and needles. The yarn color for the first stripe should be your choice. Make a slipknot on the needle and hold it in your right hand. With your left hand, hold the yarn and needle together. This is your starting point.
- Creating the first stripe:
Start knitting the first stripe by casting on the required number of stitches. Use the knit stitch for the entire stripe. Remember, the width of the stripe depends on the number of rows you knit. For instance, if you want a 1-inch stripe, you might need to knit 10 rows, depending on your yarn and needle size.
- Transitioning to the next color:
When you’re ready to transition to the next color, cut the yarn leaving a 6-inch tail. Join the new color by simply starting to knit with it. Make sure to leave a 6-inch tail of the new color as well. You can weave these tails into your work later to secure the color change.
- Continuing the pattern:
Continue knitting with the new color for as many rows as you want the stripe to be. Repeat the process of changing colors until you have all the stripes you want. Remember, consistency is key to a beautiful striped pattern. So, try to keep the number of rows in each stripe the same.
- Finishing the project:
Once you’ve knitted all the stripes, it’s time to finish the project. Cut the yarn, leaving a 6-inch tail. Thread this tail through the last stitch and pull tight. Weave in all the loose ends using a yarn needle. Congratulations, you’ve just completed your knitting project with jogless stripes!
Knitting in the Round
Knitting in the round is a popular technique that allows you to create seamless, tubular pieces. This method is perfect for knitting hats, socks, mittens, and more. Let’s delve into the world of circular knitting and understand its benefits and how to do it.
Understanding Circular Knitting Techniques
Knitting in the round, also known as circular knitting, involves knitting continuously in a spiral to create a seamless tube. This technique is quite different from flat knitting, where you knit back and forth in rows. Understanding circular knitting techniques can open up a new world of possibilities for your knitting projects.
- Benefits of knitting in the round
- How to knit in the round
- Cast on the required number of stitches.
- Join the round, making sure not to twist the stitches.
- Place a marker to indicate the beginning of the round.
- Start knitting according to your pattern.
- When you reach the marker, you’ve completed one round. Continue knitting in this manner until your project is complete.
Knitting in the round has several advantages. Firstly, it eliminates the need for seams, which can be bulky and uncomfortable in wearables. Secondly, it allows for continuous patterns, perfect for intricate designs like Fair Isle and cable knit. Lastly, it’s a time-saver as you’re always working on the right side of the fabric, so there’s no need to keep track of right and wrong sides.
Knitting in the round requires a set of circular or double-pointed needles. Here’s a simple guide:
Remember, practice makes perfect. So, don’t get discouraged if you find circular knitting challenging at first. With time and patience, you’ll be able to knit in the round like a pro.
Perfecting Color Transitions in Circular Knitting
Mastering color transitions in circular knitting can transform your projects from ordinary to extraordinary. Let’s break down the process into three simple steps.
-
Starting Your Circular Knitting Project
Before you start, choose your colors wisely. The colors you choose will greatly impact the final product. Once you’ve chosen your colors, start your project by casting on and joining in the round. Remember, it’s important to join without twisting your stitches.
Start knitting with your first color. When you’re ready to change colors, simply drop the first color and pick up the second. It’s that simple!
-
Creating Seamless Color Transitions
Creating seamless color transitions is the key to a professional-looking project. To achieve this, you need to learn the technique of ‘jogless stripes’. This technique helps to create a smooth color transition without the typical ‘jog’ or step that can occur when changing colors in circular knitting.
When you’re ready to change colors, knit the first stitch of the new color as usual. Then, lift the stitch below onto the left needle and knit it together with the first stitch. This will create a smooth, seamless transition.
-
Finishing Your Project
Once you’ve completed your color transitions, it’s time to finish your project. Cut your yarn, leaving a long tail. Thread this tail through a yarn needle, and then through the remaining stitches, removing them from the knitting needle as you go. Pull tight to close the top of your project.
Finally, weave in all loose ends to give your project a clean, finished look. Congratulations, you’ve just completed a circular knitting project with perfect color transitions!
Remember, practice makes perfect. Don’t be discouraged if your first few attempts aren’t perfect. Keep practicing, and you’ll soon be creating beautiful, seamless color transitions in your circular knitting projects.
Advanced Knitting Methods
Knitting is an art that requires patience and practice. But once you’ve mastered the basics, you’ll be eager to explore more advanced techniques. These methods can add depth and complexity to your projects, making them more visually appealing and unique. Let’s delve into some of these advanced knitting methods and see how they can enhance your knitting projects.
- Exploring other advanced knitting techniques
- Cable Knitting: This technique involves twisting stitches to create a cable-like effect. It’s perfect for adding texture and interest to sweaters and scarves.
- Lace Knitting: Lace knitting involves creating intricate, openwork patterns. This technique is great for lightweight garments and accessories.
- Intarsia: Intarsia is a colorwork technique used to create blocks of color in your knitting. It’s ideal for creating graphic designs and patterns.
- How these methods enhance your knitting projects
- Variety: Using different techniques can add variety to your projects, preventing them from becoming monotonous.
- Texture and Depth: Techniques like cable and lace knitting can add texture and depth to your projects, making them more visually appealing.
- Personalization: Advanced techniques allow you to personalize your projects, making them truly one-of-a-kind.
There are several advanced knitting techniques that can take your projects to the next level. Here are a few:
These are just a few examples. There are many other advanced techniques out there, each with its own unique effect.
Advanced knitting techniques can significantly enhance your knitting projects. Here’s how:
By mastering these advanced methods, you can elevate your knitting projects and create truly stunning pieces.
In conclusion, advanced knitting techniques can add variety, texture, and personalization to your projects. So why not give them a try? You might be surprised at what you can create.
Perfecting Stripes in Knitting
Knitting stripes can be a fun and creative way to add color and pattern to your knitting projects. However, perfecting stripes in knitting requires practice and attention to detail. In this section, we will share some tips for creating perfect stripes and highlight common mistakes to avoid.
- Tips for Creating Perfect Stripes
- Choose the Right Yarn: The type of yarn you use can greatly affect the outcome of your stripes. Choose yarns that are of the same weight and type for consistent results.
- Plan Your Colors: Before you start knitting, plan out your colors. Decide on the order and width of your stripes. This will help you achieve a more organized and appealing look.
- Carry Your Yarn: Instead of cutting your yarn after each color change, carry it up the side of your work. This will help you avoid having too many loose ends to weave in later.
- Practice Tension: Maintaining consistent tension is key to creating even stripes. Practice your tension to ensure your stripes are of the same width.
- Common Mistakes to Avoid
- Changing Colors Incorrectly: One of the most common mistakes is changing colors in the wrong place. Always change colors at the beginning of a row to ensure a clean color transition.
- Not Weaving in Ends Properly: If you don’t weave in your ends properly, they can pop out of your work and ruin the look of your stripes. Take the time to weave in your ends securely.
- Using Too Many Colors: While it can be tempting to use a lot of colors, too many can make your work look busy and chaotic. Stick to a few complementary colors for the best results.
- Not Planning Ahead: Without a plan, your stripes can end up looking random and disorganized. Always plan your colors and stripe sequence before you start knitting.
Creating perfect stripes in knitting is not as difficult as it may seem. Here are a few tips to help you:
While knitting stripes can be fun, there are a few common mistakes that knitters often make. Here are some to avoid:
Remember, practice makes perfect. Don’t be discouraged if your first few attempts at knitting stripes aren’t perfect. With time and practice, you’ll be able to create beautiful, even stripes in your knitting projects.
Multi-Color Knitting
One of the most exciting aspects of knitting is the ability to experiment with different colors. Multi-color knitting not only allows you to express your creativity but also adds a unique touch to your projects. In this section, we will explore the benefits of multi-color knitting and provide some tips on choosing the right color combinations.
- Benefits of Multi-Color Knitting
Multi-color knitting offers a plethora of benefits. Let’s delve into some of them:
- Enhanced Visual Appeal: Multi-color knitting can make your projects more visually appealing. It allows you to create intricate patterns and designs that are sure to catch the eye.
- Increased Creativity: With multi-color knitting, the possibilities are endless. You can experiment with various color combinations and patterns, allowing you to express your creativity.
- Improved Skills: Multi-color knitting can be a bit challenging, especially for beginners. However, it can help improve your knitting skills as you learn to manage different colors and create seamless transitions.
- Choosing the Right Color Combinations
Choosing the right color combinations can make a significant difference in your knitting projects. Here are some tips to help you make the right choice:
- Consider the Purpose: Think about the purpose of your knitting project. If it’s a gift, consider the recipient’s favorite colors. If it’s for your home, consider the colors that will complement your decor.
- Use a Color Wheel: A color wheel can be a great tool to help you understand color relationships and choose harmonious color combinations.
- Experiment: Don’t be afraid to experiment with different color combinations. Sometimes, the most unexpected combinations can produce the most stunning results.
In conclusion, multi-color knitting can add a new dimension to your knitting projects. It allows you to express your creativity, improve your skills, and create visually appealing items. So, don’t be afraid to experiment with different colors and create your unique knitting masterpieces.
Knitting Seamless Patterns
Knitting seamless patterns is a skill that every knitter should master. It allows you to create beautiful, continuous designs without any visible joins or breaks. In this section, we will explore how to knit seamless patterns and provide some examples of seamless patterns in knitting.
- How to knit seamless patterns
- Cast on the required number of stitches for your pattern.
- Join the stitches in a circle, making sure not to twist them.
- Start knitting according to your pattern, working in a spiral until your project is complete.
- Once you’ve finished, simply cut your yarn and weave in the end to secure it.
- Examples of seamless patterns in knitting
- Stripes: Stripes are a classic seamless pattern. By changing yarn colors at the end of each round, you can create bold, colorful stripes without any visible joins.
- Fair Isle: Fair Isle is a traditional knitting technique used to create intricate, multicolored patterns. It’s knitted in the round for a seamless finish.
- Cable Knit: Cable knit patterns are often knitted in the round to create seamless sweaters and scarves. The twisting, braided design is a timeless classic.
Knitting a seamless pattern involves a technique called ‘knitting in the round’. This technique allows you to knit continuously in a spiral, creating a seamless finish. Here are the steps to knit a seamless pattern:
Remember, practice makes perfect. Don’t be discouraged if your first few attempts aren’t perfect. Keep trying, and you’ll get the hang of it.
There are countless examples of seamless patterns in knitting, each with its unique charm. Here are a few examples:
These are just a few examples. The possibilities are endless when it comes to seamless knitting patterns. With practice, you can create your own unique designs.
In conclusion, knitting seamless patterns is a valuable skill that can greatly enhance your knitting projects. It may take some practice to master, but the results are well worth the effort. Happy knitting!
Conclusion
- Recap of Key Takeaways: Throughout this blog post, we’ve taken a deep dive into the world of knitting. We’ve explored various knitting techniques, from understanding seamless color changes to knitting in the round. We’ve also delved into advanced knitting methods, perfecting stripes in knitting, multi-color knitting, and knitting seamless patterns. The key takeaway is that with patience and practice, you can master these techniques and create beautiful, intricate patterns.
- Encouragement to Practice and Perfect These Techniques: Remember, every expert was once a beginner. Don’t be discouraged if you don’t get it right the first time. Knitting is a skill that requires practice and patience. Keep trying, keep learning, and keep knitting. With time, you’ll see improvement and before you know it, you’ll be creating stunning pieces with ease. As the famous saying goes, “The only way to do great work is to love what you do.” So, keep your passion for knitting alive and continue to perfect your skills. Happy knitting!


